So it took me a while to figure out the shape for the stem pieces. I finally decided and transferred the outline to a cedar plank and cut it out using a jigsaw. I have learned to use so many new tools and each one has a learning curve. This will be so much easier next time. Ha!

Next I attatched the stem pieces by lashing them to the gunwales.


I attatched the keelson to the stem pieces by pegging it into place. First I added a strip to build up the stern area, it needed a little more depth.

In this picture you can see the added piece and the lashing on the first rib in the right corner.

A different view, you can see the pegs that I sawed off flush with the gunwales.
Some of the ribs had to be blocked up to meet the keelson. Then I lashed the keelson to the ribs.

These steps seem so simple writing them down, but they took hours for me to do. I have really been starting to freak out that I wouldn't have the qajaq finished in time. We have to be out of the shop on Saturday, Feb. 28th. But I've talked Chuck into allowing us to work on Saturday and clean on Sunday.

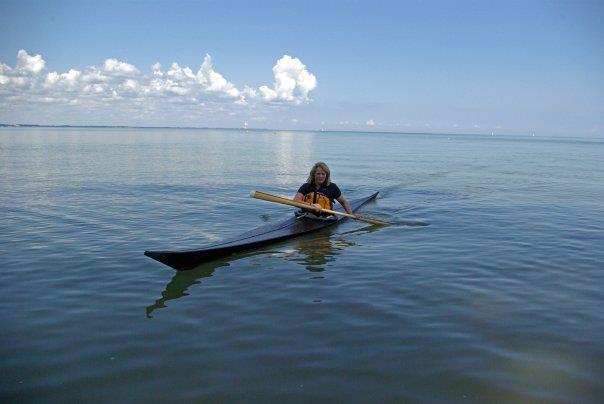
I put the qajaq on the floor to test fit it. It fits!! Now I'm working on fitting the masik, the large piece of wood you see here.
The masik holds you in place and gives you a lot of support. It is placed just behind your knees and as low as you can make it and still get into the qajaq. The masik is curved so it can be a little tricky. I have Pete to thank for finding enough curved branches for the whole class!

Ken's qajaq is on the left & you can see he has his chines in place on either side of the keelson. This is my next step. Then the masik, another piece to go over each stem, 2 more curved deck beam still needed...see why I'm worried?

Here is an oak log that was used to cut ribs from. You can see some of them on the right, we keep them covered and damp so they stay pliable.